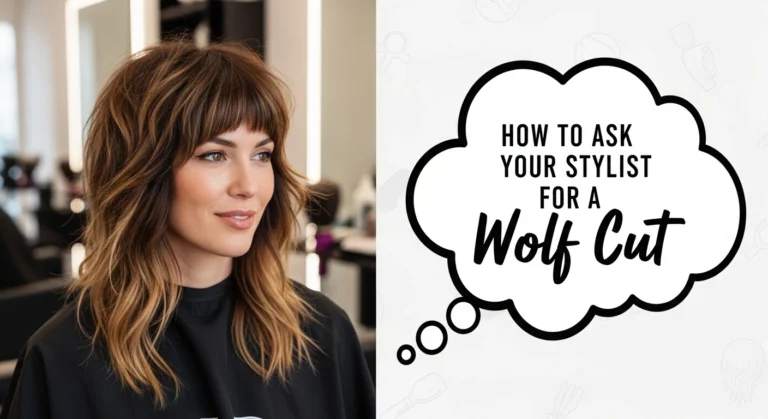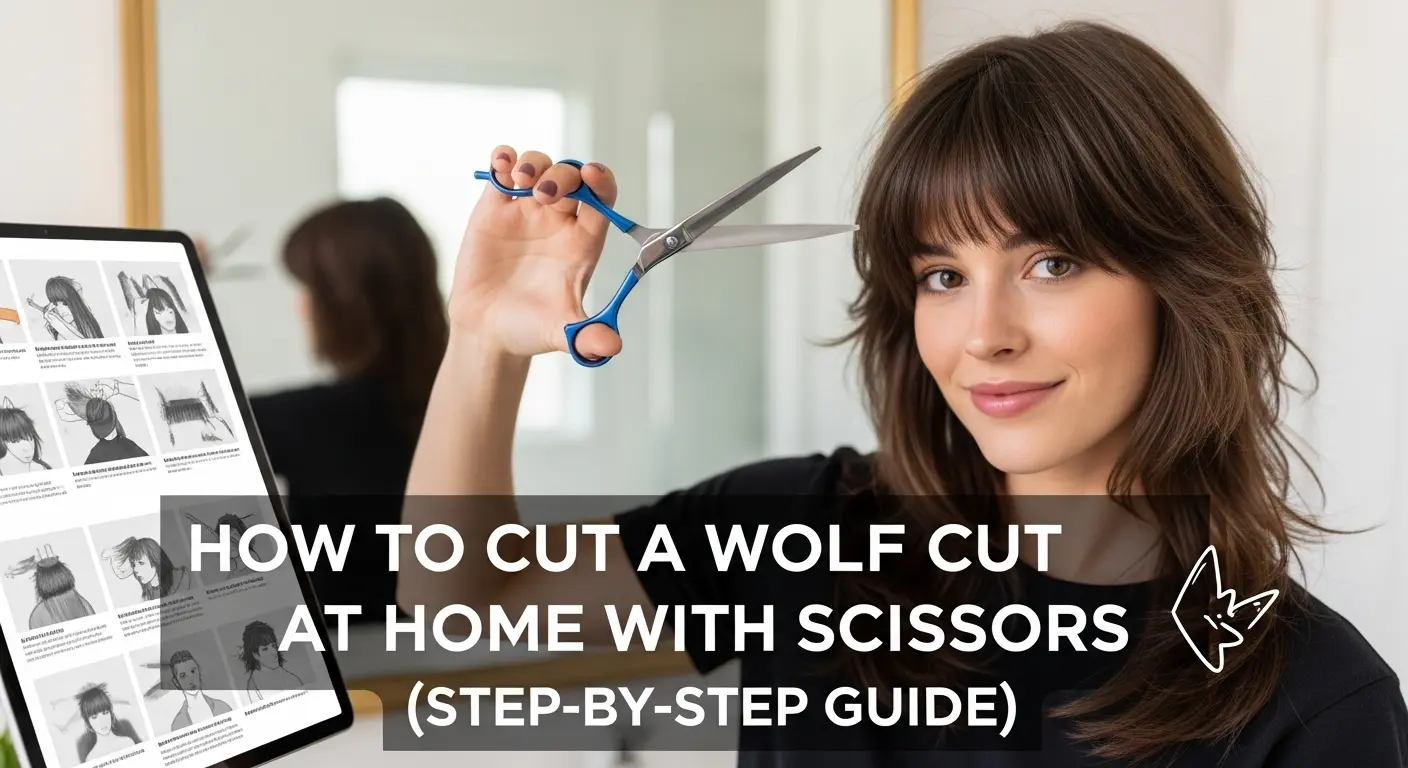
How to Cut a Wolf Cut at Home with Scissors (Step-by-Step Guide)
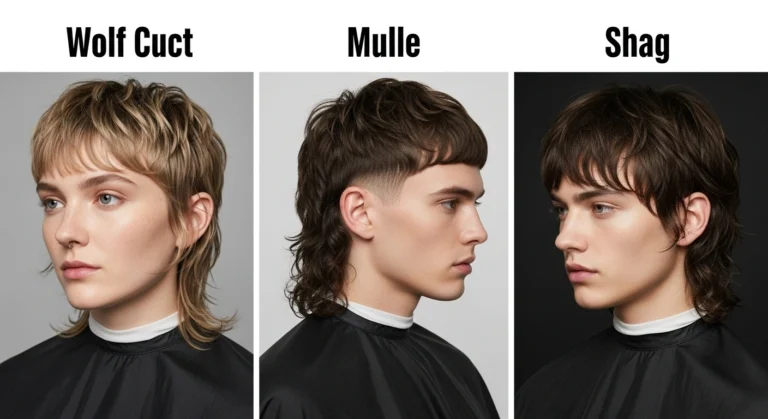
The wolf cut — a modern mix of the shag and mullet — is one of today’s most viral hairstyles. Known for its volume, layered texture, and edgy appeal, it’s a favorite among TikTok and Instagram users. What’s great is that you don’t always need to visit a salon to get the look. With a little patience, the right tools, and careful sectioning, you can cut a wolf cut at home using scissors — and achieve salon-like results.
In this detailed guide, we’ll walk you through:
- What tools you’ll need
- How to section and cut your hair correctly
- Step-by-step techniques for each layer
- Styling tips to enhance your DIY wolf cut
- Common mistakes to avoid
Let’s get started!
What Is a Wolf Cut?
The wolf cut blends the volume of a shag with the length and texture of a mullet. It’s characterized by:
- Short, choppy layers at the crown for lift and movement
- Longer pieces near the bottom for length and flow
- Face-framing layers or curtain bangs that add softness
This style looks amazing on straight, wavy, and curly hair and works for all hair lengths — short, medium, or long.
Why Cut a Wolf Cut at Home?
Doing a DIY wolf cut at home has become a popular choice for people who love experimenting with their hair. Here’s why:
| Reason | Benefit |
|---|---|
| Saves Money | No salon visit or stylist fees. |
| Customizable | You can control how short or choppy you want it. |
| Creative Freedom | You can personalize it for your face shape and texture. |
| Low Maintenance | The layered style grows out naturally without harsh lines. |
Tools You’ll Need
Before you start, gather the right tools. Using proper tools helps you achieve a cleaner and more precise cut.
| Tool | Purpose |
|---|---|
| Sharp Haircutting Scissors | Regular scissors cause split ends — use professional-grade shears. |
| Fine-Tooth Comb | For sectioning and smoothing the hair. |
| Hair Clips or Ties | To separate sections neatly. |
| Spray Bottle with Water | Slightly damp hair makes cutting easier. |
| Mirror Setup (Front & Back) | Helps you check angles and symmetry. |
| Blow Dryer or Straightener (Optional) | For styling and refining the final look. |
Step-by-Step Guide: How to Cut a Wolf Cut at Home with Scissors
Follow these step-by-step instructions carefully for an even and flattering wolf cut at home.
Step 1: Prepare Your Hair
- Start with clean, dry, or slightly damp hair.
- Avoid soaking wet hair — it stretches, which can lead to cutting too short.
- Detangle thoroughly using a comb or detangling brush.
- Part your hair naturally in the center or slightly off-center, depending on your usual style.
Step 2: Section Your Hair
The wolf cut relies on layered structure, so proper sectioning is key.
- Divide your hair into two halves — left and right.
- Create a top ponytail (using the front and crown sections). This will become your short top layers.
- Tie the rest of your hair into a lower ponytail (the back section). This forms your longer layers.
You’ll end up with two ponytails — one high on your forehead and one low near your nape.
💡 Pro Tip: The higher your top ponytail, the more dramatic and choppy your wolf cut layers will be.
Step 3: Cut the Top Ponytail (Crown Layers)
- Hold the top ponytail straight forward and comb it smooth.
- Decide your shortest layer length — usually around your cheekbones or eyebrows for a bold look.
- Trim the ends straight across (use sharp scissors).
- Then, point cut vertically into the ends to soften the line and create texture.
This forms the short, voluminous layers typical of a wolf cut.
Step 4: Cut the Bottom Ponytail (Length and Shape)
- Comb the lower ponytail straight down.
- Hold it firmly, and decide how much you want to trim.
- Cut straight across for structure, then point cut again to add movement.
If your hair is very long, this step keeps your bottom layers full but blended with the top.
Step 5: Release and Check the Shape
- Untie both ponytails and shake out your hair.
- Check in the mirror — you should see:
- Shorter layers on top
- Gradual length toward the bottom
- Natural texture and flow
If some areas look uneven, snip tiny sections at a time. Remember: less is more.
Step 6: Add Face-Framing Layers
To achieve that signature wolf cut fringe or curtain bang, follow these mini steps:
- Part your front section in the middle.
- Take a small triangular section on each side of your face.
- Hold it diagonally across your face and trim from the nose down toward the chin.
- Repeat on the other side for balance.
- Use point cutting to soften the edges.
This adds dimension and helps the cut blend beautifully.
Step 7: Texture and Refine
Texture is what makes a wolf cut look natural and voluminous. To achieve this:
- Use point-cutting or slide-cutting techniques to thin out thick sections.
- For wavy or curly hair, twist small sections and snip lightly for even layering.
- Avoid over-thinning — the goal is soft texture, not sparse ends.
Step 8: Blow Dry and Style
- Blow dry your hair upside down for volume.
- Use a round brush or diffuser for bounce and texture.
- Optionally, use a curling wand for soft waves.
- Finish with a texturizing spray or volumizing powder to define layers.
Now you have your DIY wolf cut — edgy, natural, and full of personality.
Wolf Cut Length Options: What to Choose
| Hair Length | Description | Best For |
|---|---|---|
| Short Wolf Cut | Ends near the jawline; more edgy and bold. | Fine or straight hair. |
| Medium Wolf Cut | Shoulders to collarbone; balanced and trendy. | All hair textures. |
| Long Wolf Cut | Falls below the shoulders with blended layers. | Thick or wavy hair. |
If it’s your first time, start with a medium-length wolf cut — it’s the easiest to shape and maintain.
Styling Tips for Your At-Home Wolf Cut
- Use sea salt spray or mousse for extra body and texture.
- Blow dry with your head upside down to lift roots naturally.
- Use dry shampoo between washes to keep the top layers voluminous.
- Twist and scrunch your ends for that effortless “undone” vibe.
- Avoid heavy oils — they can flatten your crown layers.
The goal is to keep your hair looking light, airy, and full of movement.
Common Mistakes to Avoid
| Mistake | Why It’s a Problem | Fix |
|---|---|---|
| Cutting hair too wet | Hair shrinks when dry | Cut when 80% dry |
| Using dull scissors | Causes split ends | Use hair-cutting shears |
| Cutting too much from top ponytail | Leads to choppy, uneven layers | Trim gradually |
| Skipping sectioning | Makes the cut uneven | Always divide into parts |
| Ignoring face shape | Can make cut unflattering | Adjust bangs and layers accordingly |
Pro tip: Always start by trimming less than you think you need — you can always go shorter later!
How to Maintain a DIY Wolf Cut
To keep your wolf cut fresh and healthy:
| Maintenance Step | Frequency | Benefit |
|---|---|---|
| Micro-trim | Every 8–10 weeks | Prevents split ends |
| Deep conditioning | Once a week | Keeps layers soft |
| Clarifying shampoo | Once a month | Removes product buildup |
| Scalp massage | 3–4 times a week | Promotes healthy growth |
| Avoid daily heat | As much as possible | Maintains texture integrity |
Regular touch-ups ensure your wolf cut stays lively, not limp.
Who Should Try a DIY Wolf Cut?
A wolf cut works for most face shapes, but here’s a quick guide:
| Face Shape | Tip for Cutting |
|---|---|
| Round | Add longer face-framing layers for balance. |
| Oval | Almost all wolf cut styles suit you. |
| Square | Keep fringe soft and layered. |
| Heart-Shaped | Focus on volume around the chin. |
| Long/Rectangular | Add curtain bangs for width. |
Best Hair Textures for the Wolf Cut
| Hair Type | How It Looks | Extra Tip |
|---|---|---|
| Straight Hair | Gives a soft, feathery effect | Use texture spray |
| Wavy Hair | Natural, tousled movement | Air-dry with mousse |
| Curly Hair | Full, voluminous bounce | Use diffuser attachment |
The wolf cut adapts beautifully to each texture — just tweak your styling products accordingly.
When to Visit a Professional
While a DIY wolf cut is fun, you should see a stylist if:
- Your layers look uneven or bulky.
- You want to add bangs or reshape the silhouette.
- You have curly or coily hair and need specialized layering.
A stylist can refine your at-home cut while keeping your desired wolf-cut look intact.
Final Thoughts: Confidence Is the Key
Cutting your own wolf cut at home can feel intimidating, but with patience and the right method, you can create a style that looks intentionally edgy — not accidental.
The wolf cut is meant to be imperfect and wild, so don’t stress over every strand. Focus on:
- Clean sectioning
- Light, gradual trims
- Blending layers through point-cutting
Once styled with texture, your at-home wolf cut will look natural, effortless, and full of life — just like the trendy salon version.
So grab your scissors, take your time, and unleash your inner stylist!

Alex Morgan is a professional hairstylist and hair trends enthusiast with over 8 years of experience in modern and classic cuts. Specializing in the wolf cut haircut for all hair types, Alex has worked with clients across the USA to create effortlessly stylish, face-framing looks that blend texture with volume.